Batch processing in Audacity requires the use of a chain. A chain is a set of preconfigured commands that can be applied to projects or audio files. In this tutorial, you’ll learn how to create a chain to normalize audio with Audacity.
Create a Chain
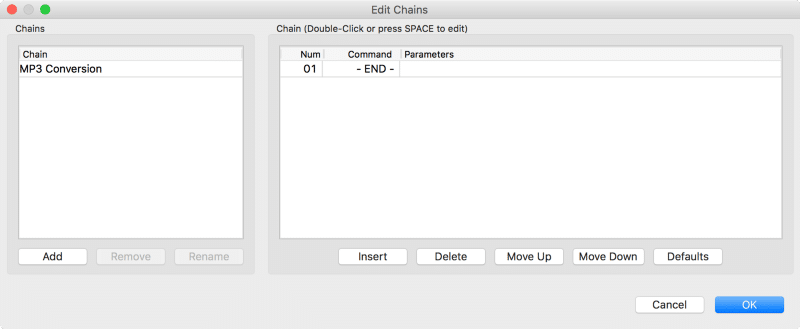
To create a chain, navigate to File/Edit Chains.
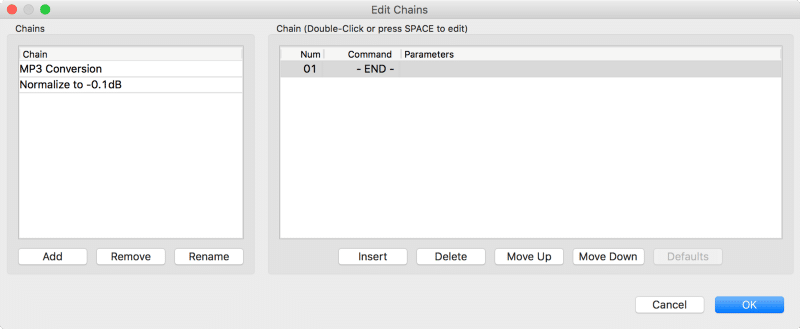
Click the Add button to create and name a new chain. In the screenshot below, I’ve named my new chain “Normalize to -0.1dB,”
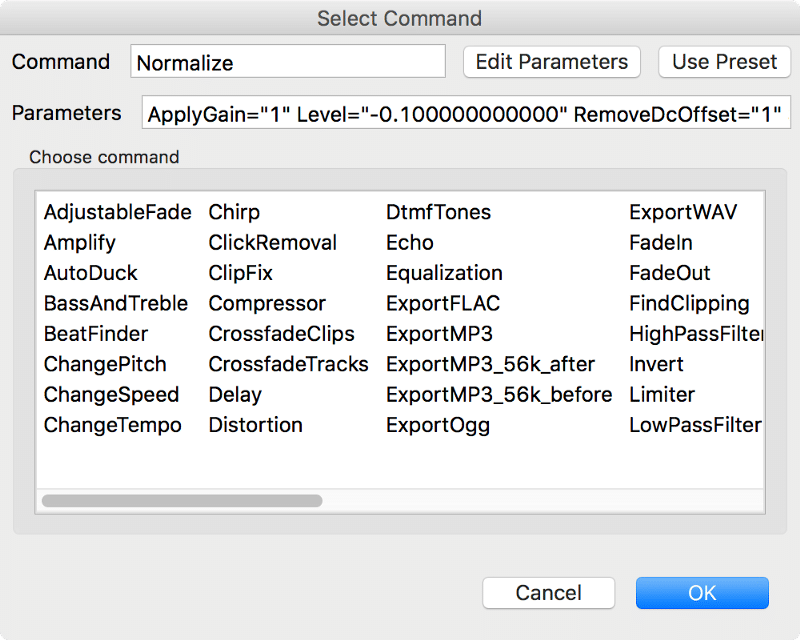
Next, click the Insert button to add commands to the chain. Since I want to create a chain to normalize and export audio files, I’ve added the Normalize and** ExportWAV** commands.
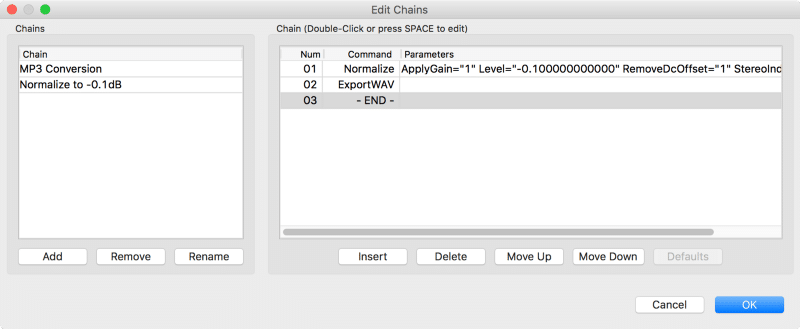
Some commands have editable parameters, which can be accessed by pressing the Edit Parameters button in the Select Command dialog box. For example, the** Normalize** command has editable parameters for removing DC offset, maximum amplitude, and normalizing stereo channels independently.
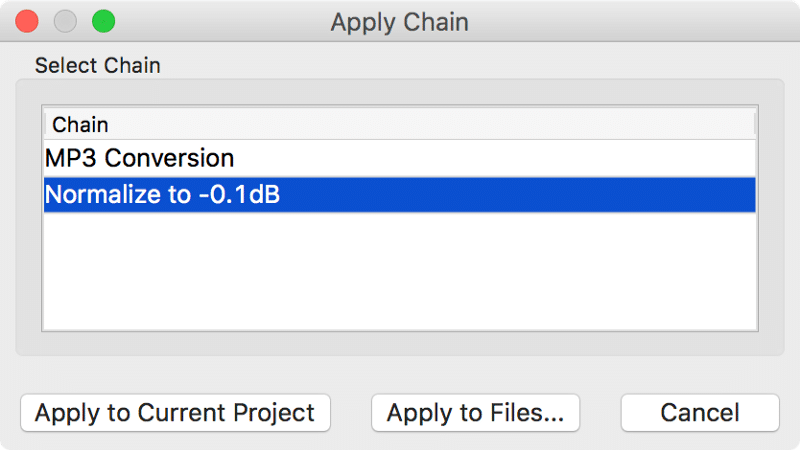
After the chain has been created, navigate to File/Apply Chain. Select the newly created normalization chain, and click Apply to Files.
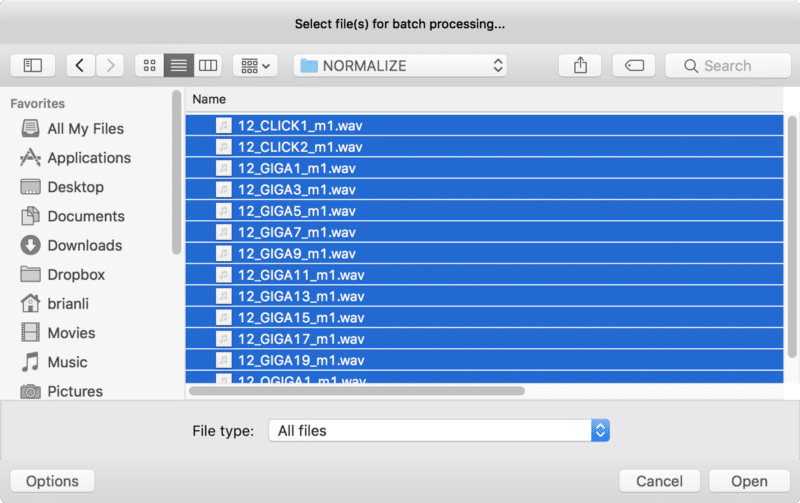
Finally, select the audio files you want to normalize, and press Open.
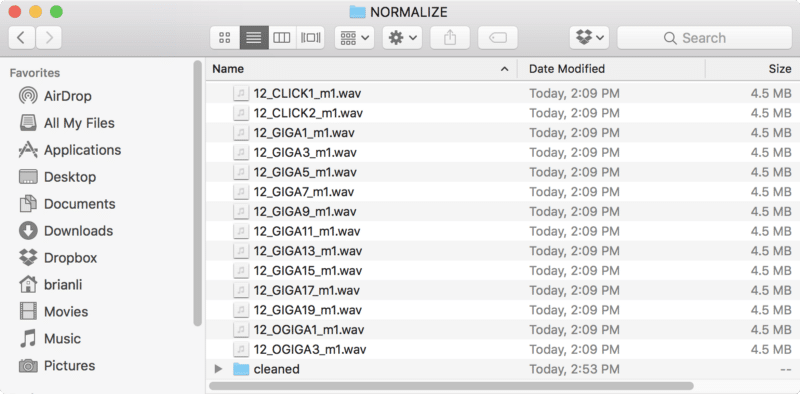
After the batch processing is finished, the normalized files will show up in a cleaned folder in your source directory.