Hugo is an easy to use and super fast static site generator. Due to the static nature of sites built with Hugo and other static site generators, adding dynamic functionality like a contact form can be tricky. Luckily, if you choose Netlify for hosting, you can take advantage of Netlify Forms to add a dynamic contact form to your static site. In this post, you’ll learn how to create a contact form for a Hugo-based site with Netlify Forms.
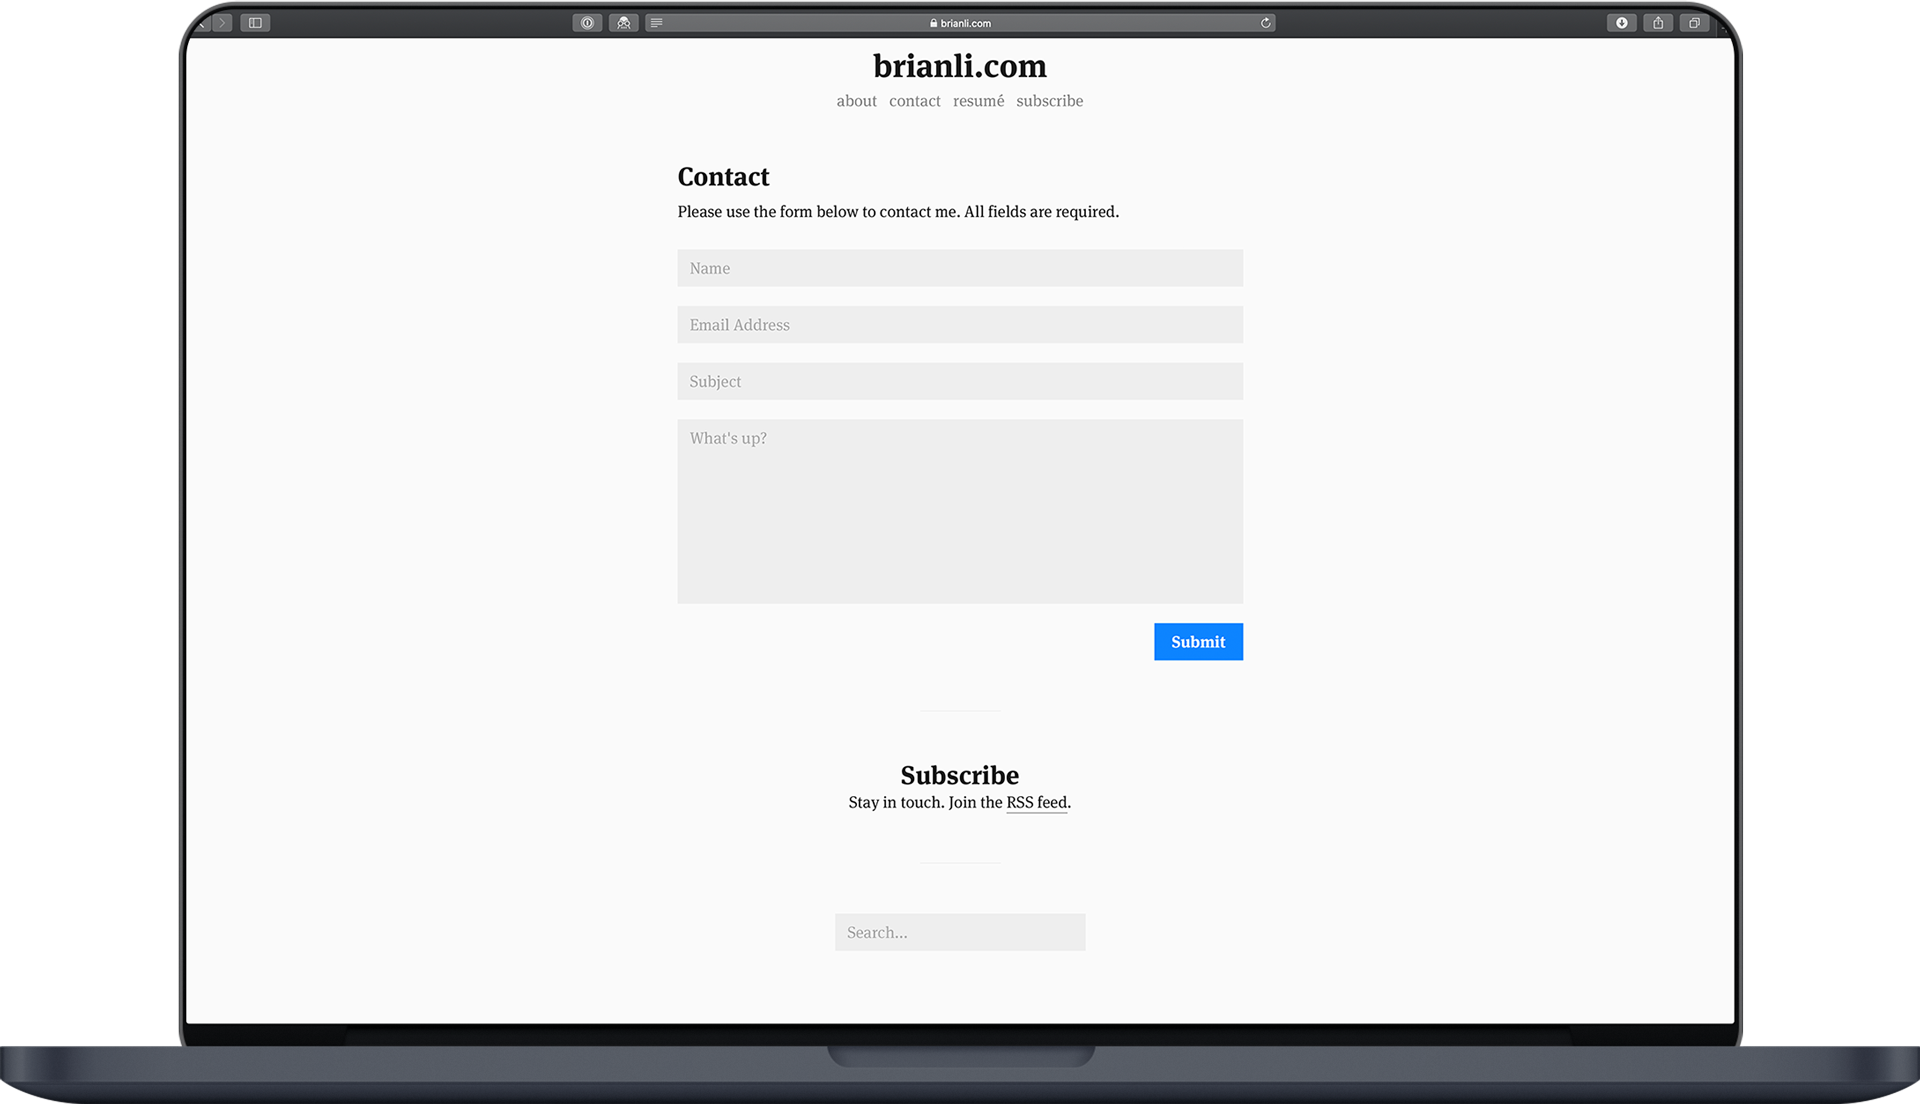
Before I added a contact form to my blog, my contact page just listed a hyperlinked email address. When I first recreated my site in Hugo a few months ago, adding a contact form was on my todo list. At the time, I was very busy, and did not have time to go through the various contact form options. A few weeks ago, I had a free weekend, so I finally sat down, did some research, and created a contact form with Netlify Forms. Here’s what my contact page looks like now.

Why I Chose Netlify Forms
Before we get into the how, let’s talk about the why behind my decision to go with Netlify Forms instead of other solutions like Google Forms.
- Netlify Forms is 100% native, and doesn’t require me to embed HTML, JS, and CSS from external sources.
- Netlify Forms can be styled to your heart’s content.
- Netlify Forms does not have any kind of performance overhead.
How to Create a Netlify Form
Creating a contact form with Netlify Forms is easy. It’s as simple as adding some HTML to your page template. Below is the HTML I am using for my contact form.
<form name="contact" class="contact-form width-normal" action="/thank-you/" method="POST" data-netlify="true">
    <input type="hidden" name="form-name" value="contact" />
    <!-- Text input-->
    <div class="form-group">
        <label class="col-md-4 control-label" for="Name"></label>
        <div class="col-md-4">
            <input id="contact-form-name" name="Name" type="text" placeholder="Name" class="form-control input-md" required="" autocomplete="off">
        </div>
    </div>
    <!-- Text input-->
    <div class="form-group">
        <label class="col-md-4 control-label" for="Email"></label>
        <div class="col-md-4">
            <input id="contact-form-email" name="Email" type="email" placeholder="Email Address" class="form-control input-md" required="" autocomplete="off">
        </div>
    </div>
    <!-- Text input-->
    <div class="form-group">
        <label class="col-md-4 control-label" for="Subject"></label>
        <div class="col-md-4">
            <input id="contact-form-subject" name="Subject" type="text" placeholder="Subject" class="form-control input-md" required="" autocomplete="off">
        </div>
    </div>
    <!-- Textarea -->
    <div class="form-group">
        <label class="col-md-4 control-label" for=""></label>
        <textarea class="form-control" id="contact-form-message" name="Message" placeholder="What's up?" rows="8"></textarea>
    </div>
    <!-- Button -->
    <div class="form-group">
        <button type="submit" value="Submit" id="Form-submit">Submit</button>
    </div>
</form>
The “important” code is in the first two lines.
<form name="contact" class="contact-form width-normal" action="/thank-you/" method="POST" data-netlify="true">
<input type="hidden" name="form-name" value="contact" />
Setting the data-netlify="true" attribute instructs Netlify to treat this form as a “Netlify Form”. Without this attribute, Netlify will not be aware of your form.
The actions="/thank-you/" attribute is used to redirect the form to https://brianli.com/thank-you/ after a successful form submission. If you want to set up a similar redirection, ensure that the value for the action attribute is a relative URL1.
Lastly, a hidden input field is also needed for that post-submission redirection to work. Be sure that the value of the value attribute in the hidden input field is the same as the value of the name attribute in your form. To make this more clear, the above code snippet can be found below with the relevant values capitalized.
<form name="CONTACT" class="contact-form width-normal" action="/thank-you/" method="POST" data-netlify="true">
<input type="hidden" name="form-name" value="CONTACT" />
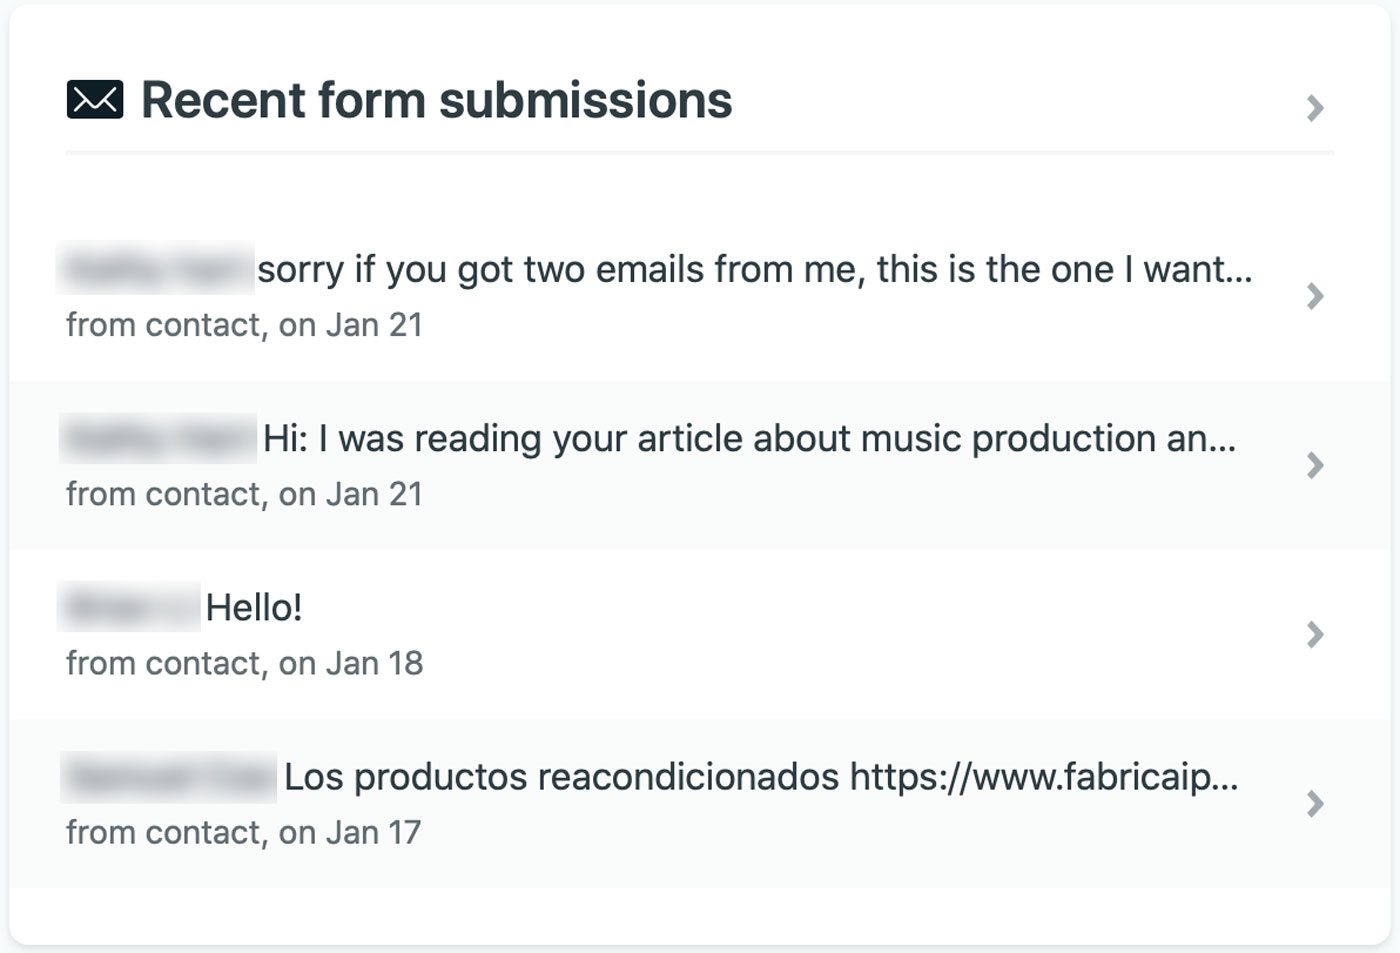
After deploying your contact form, go ahead and send a test submission. If everything is set up correctly, you’ll see the submissions in your Netlify dashboard under “Recent form submissions”.

Form submissions in the Netlify dashboard.
If you go to Settings -> Forms -> Form notifications, you can even instruct Netlify to notify you about new form submissions. For my contact form, I have set up an email alert. This means Netlify will automatically send me an email if someone contacts me via my contact form.

Netlify Forms supports external notifications via email, Slack, and more.
Conclusion
Setting up a contact form on your static site with Netlify Forms is an easy way to make your site look more professional. Since Netlify Forms does not require any external assets, it’s the best option for sites that need a basic contact form. If you have any questions about how to create a contact form with Netlify Forms, feel free to reach out to me on Twitter or send me an email.
- If your static site generator has an option to canonify URLs (rewriting relative URLs to absolute URLs), be sure to turn that off. I spent a few days troubleshooting an unsuccessful post-submission redirection before realizing it was due to
canonifyURLsbeing set totruein my Hugo configuration file. ↩︎