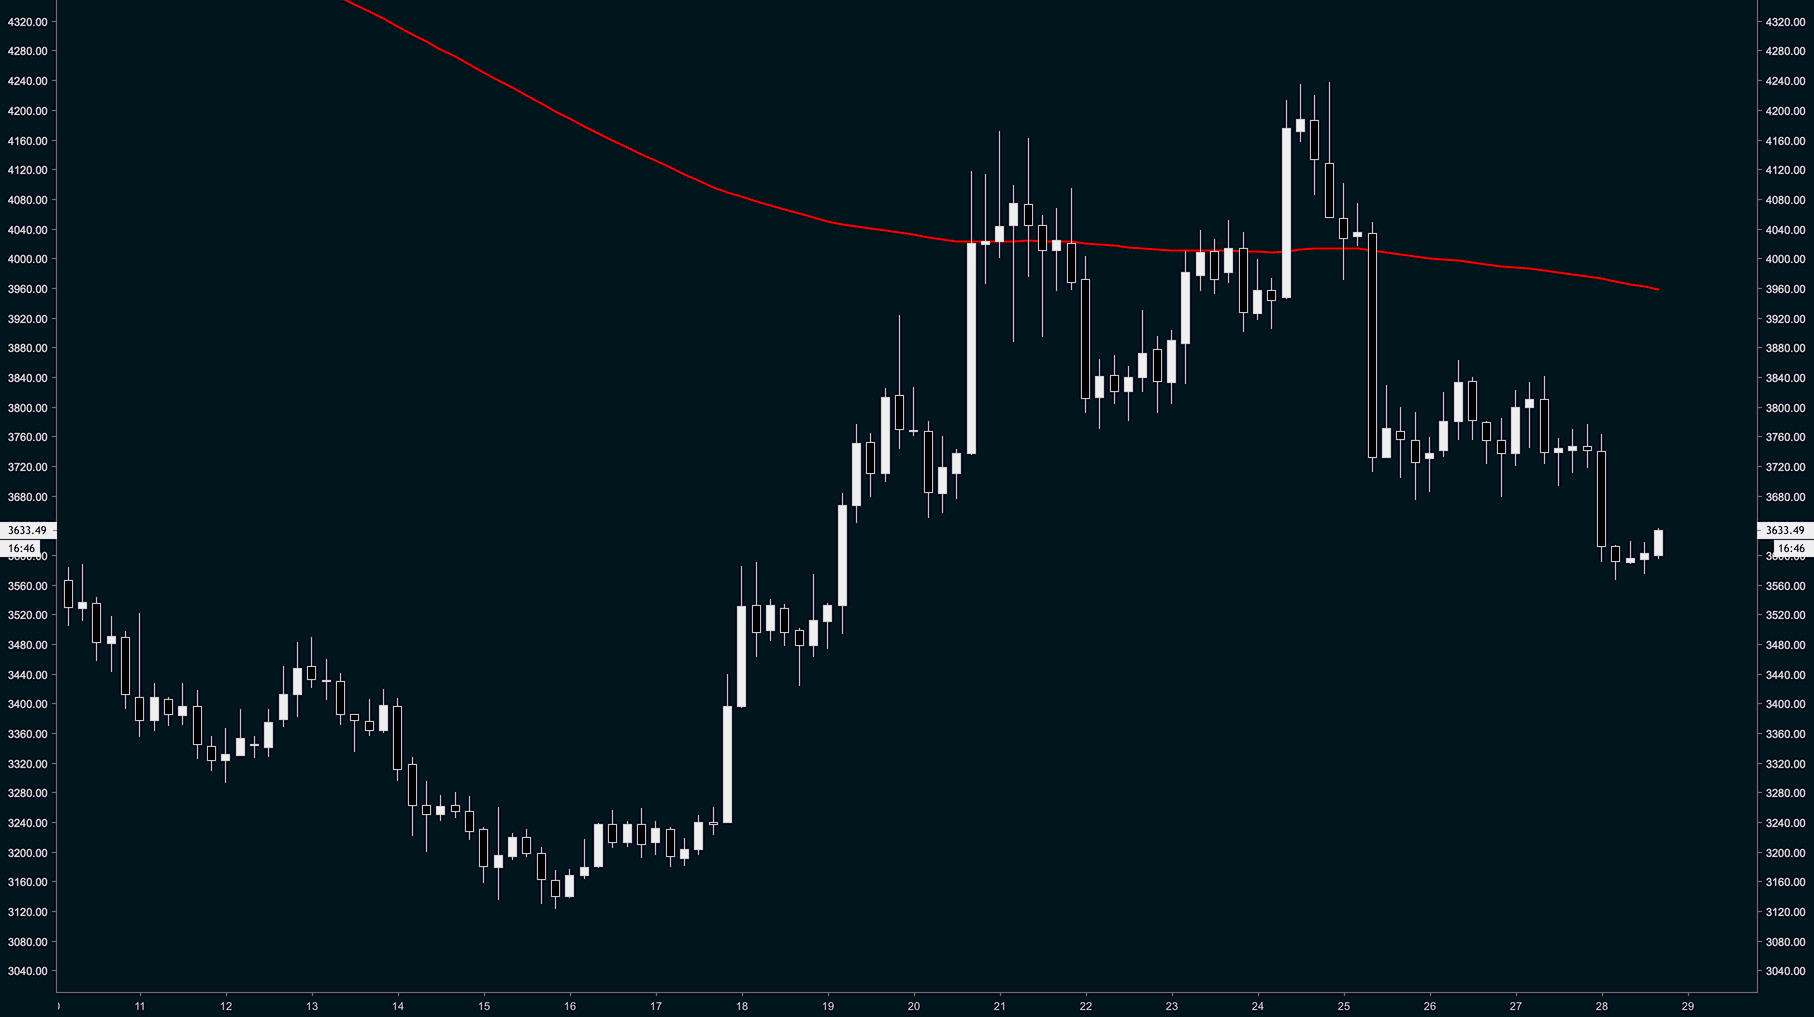
Over the past few months, I’ve been contributing weekly market analyses to Liquid’s blog. Many of these posts contain cryptocurrency charts from TradingView that look something like this.
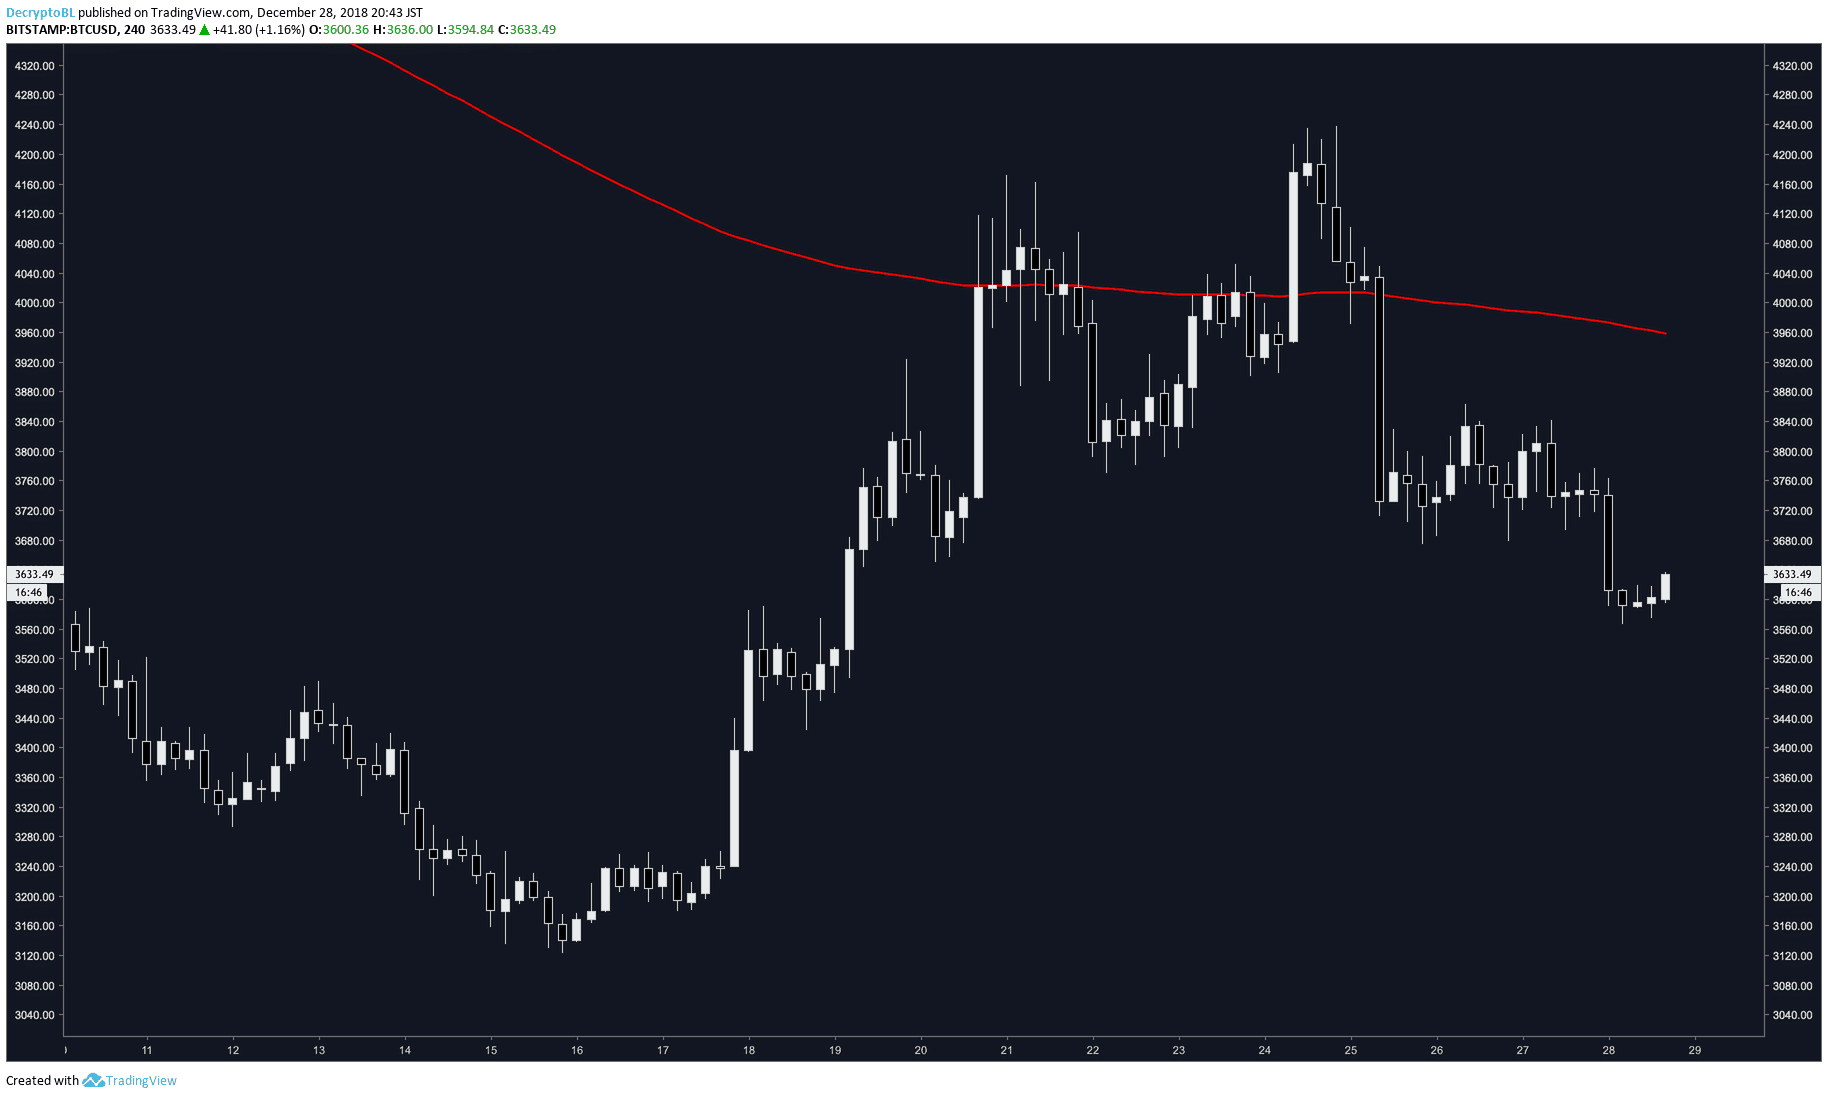
Before I upload charts, I usually like to crop off the metadata at the top, along with the whitespace and TradingView branding on the other three sides. I was doing this with a custom Photoshop batch action for a while, but the process of opening Photoshop every single time I wanted to upload a chart just felt so tedious and unnecessary. After some Googling and experimentation, I was able to create a macOS folder action that triggers an ImageMagick shell script that automatically crops images placed in the folder. Here’s how I did it.
Install ImageMagick
The easiest way to install ImageMagick is through Homebrew, a handy package manager for macOS. To install Homebrew, open up a Terminal window and run the following command.
/usr/bin/ruby -e "$(curl -fsSL https://raw.githubusercontent.com/Homebrew/install/master/install)"``
Next, run the following command to install ImageMagick.
brew install imagemagick
To verify that ImageMagick is installed correctly, run this command.
convert -version
If you see something like this, you’re good to go.
Version: ImageMagick 7.0.8-20 Q16 x86_64 2018-12-26 https://imagemagick.org
Copyright: © 1999-2019 ImageMagick Studio LLC
License: https://imagemagick.org/script/license.php
Features: Cipher DPC HDRI Modules
Delegates (built-in): bzlib freetype jng jp2 jpeg lcms ltdl lzma png tiff webp xml zlib
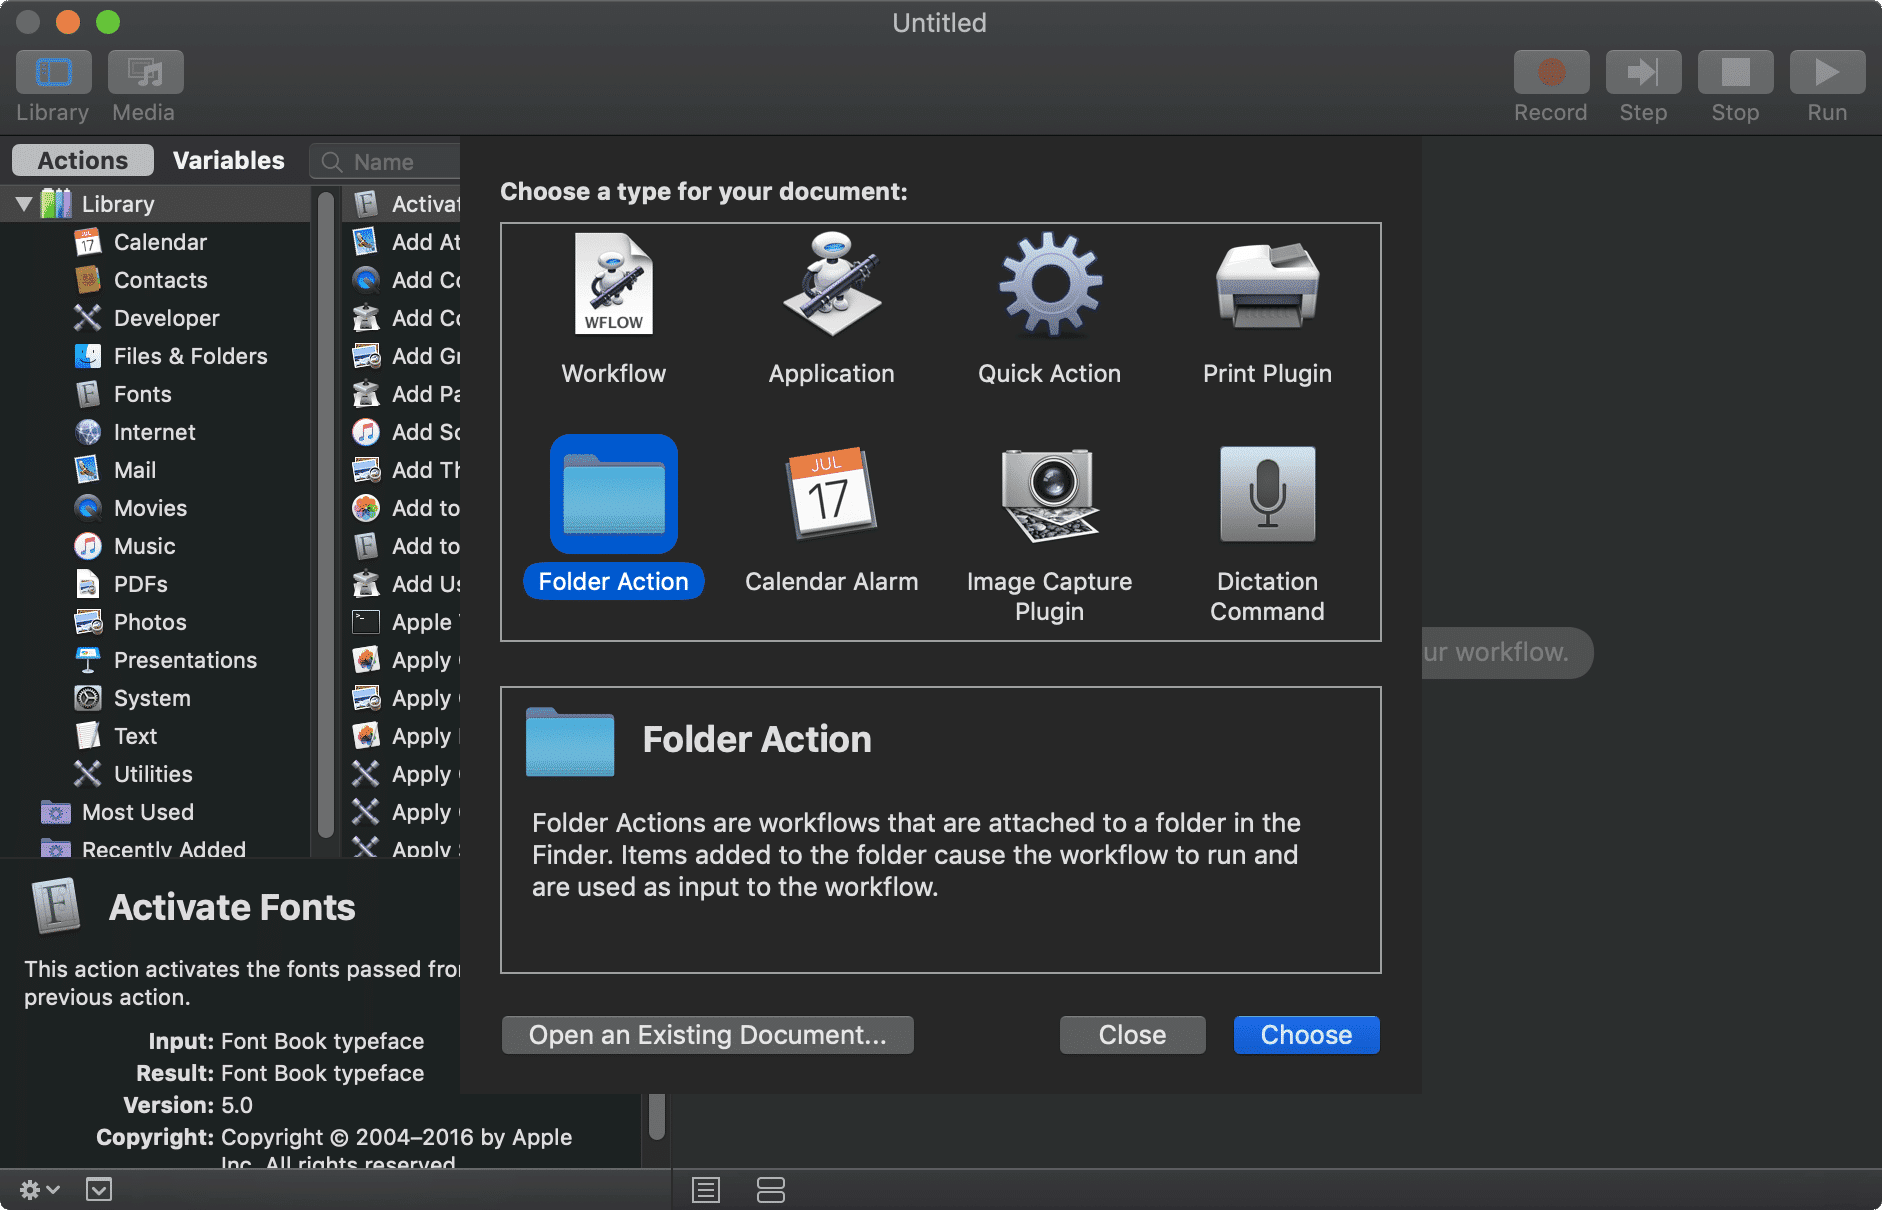
Create a macOS Folder Action
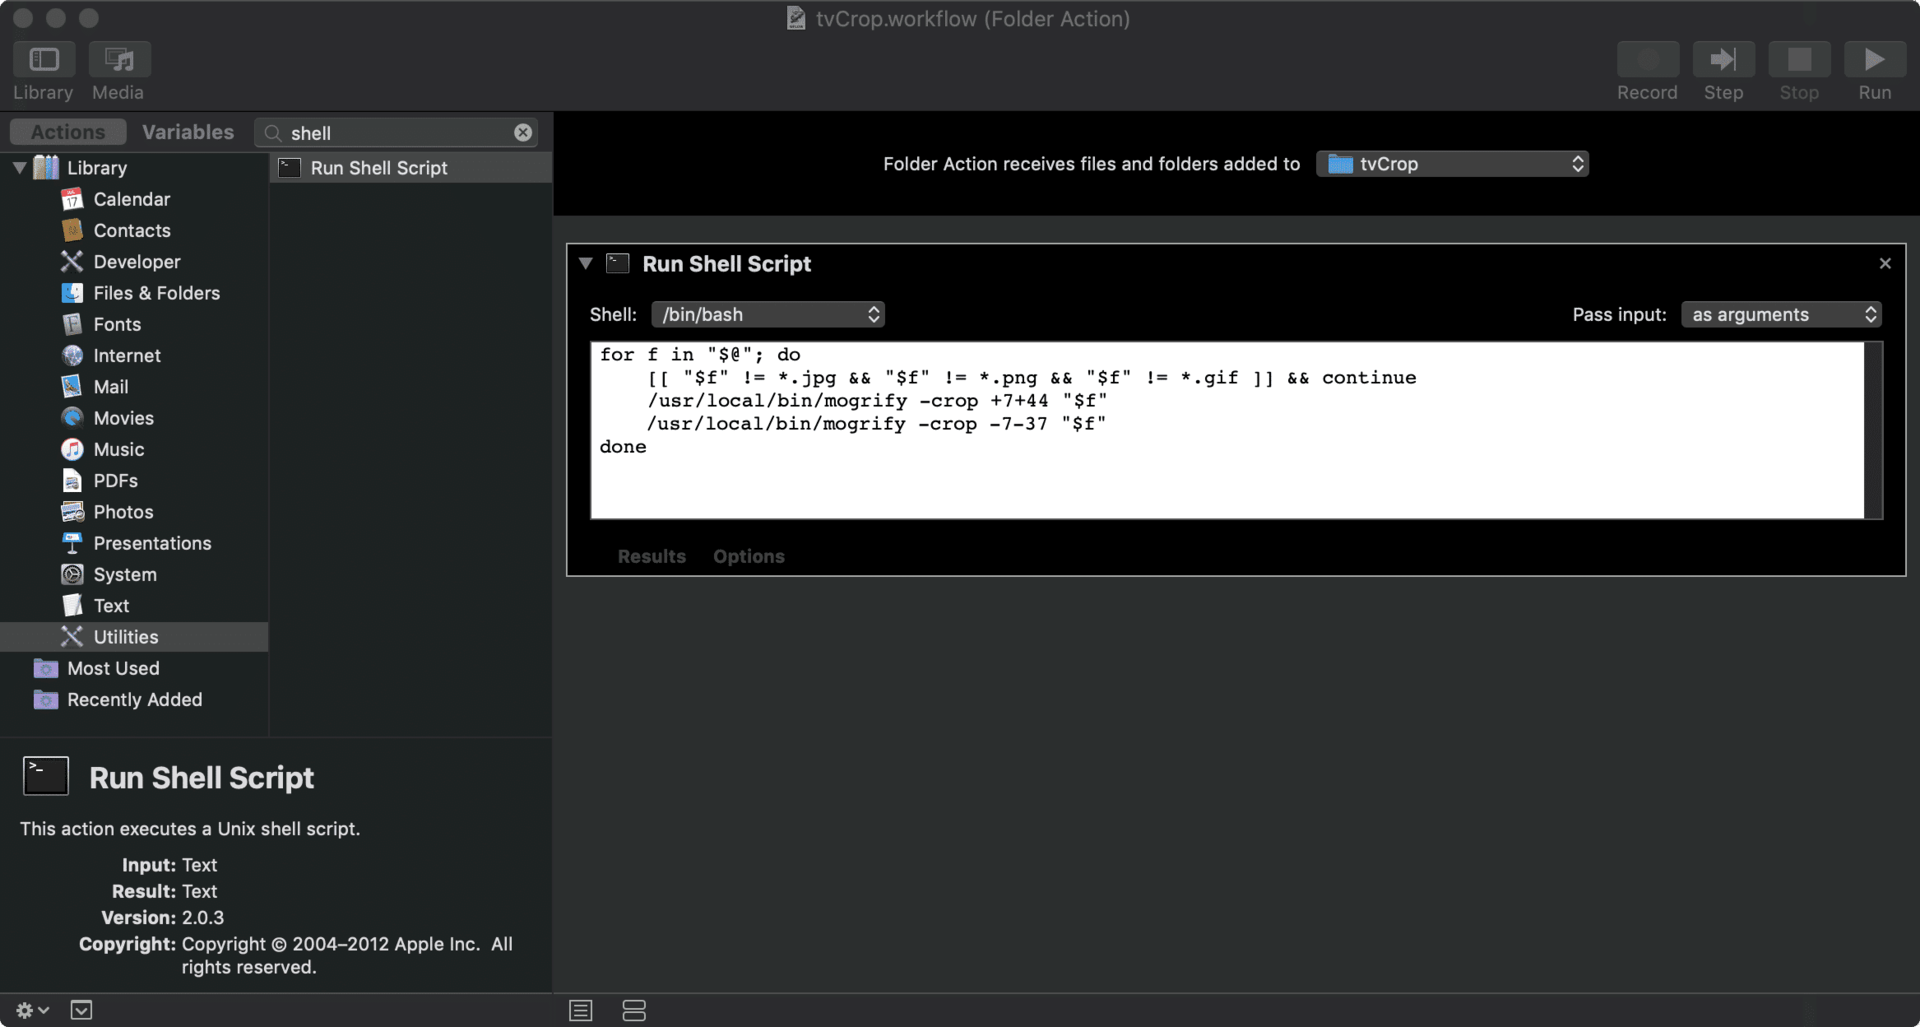
Now, open up Automator (Macintosh HD/Applications/Automator) and create a new folder action, and a select a target folder with the dropdown menu that reads “Folder action receives files and folders added to”.
Click on Actions, do a search for “Run Shell Script,” and double-click on it to add it to your workflow. Next, copy the following code into the shell script text box and select “as arguments” in the** Pass input** dropdown.
for f in "$@"; do
    [[ "$f" != *.jpg && "$f" != *.png && "$f" != *.gif ]] && continue
    /usr/local/bin/mogrify -crop +7+44 "$f"
    /usr/local/bin/mogrify -crop -7-37 "$f"
done
[[ "$f" != *.jpg && "$f" != *.png && "$f" != *.gif ]] matches JPG, PNG, and GIF files. If you need to process other image formats like TIFF and WEBP, just add && "$f" != *.format after "$f" != *.gif. -crop +7+44 "$f" crops 7 pixels from the right side and 44 pixels on the top, while -crop -7-37 "$f" crops 7 pixels from the left side and 37 pixels from the bottom. These two crop commands are preceded by mogrify, which overwrites the image file. If you need the cropped image to be a new file, you’ll need to use the convert command and specify an output file.
Here are a few more examples of how to use the -crop command.
-crop +0+50crops 50 pixels from the top.-crop +50+0crops 50 pixels from the right.-crop -0-50crops 50 pixels from the bottom.-crop -50-0crops 50 pixels from the left.
Finally, save the workflow and place an image file into the target folder. If all goes well, the folder action should run and spit out a cropped image.