How to Layer Instruments in MainStage
In today's live and studio productions, being able to quickly create complex patches with multiple layers is crucial. With its extensive library of built-in sound libraries, plugins, and performance-oriented features, MainStage allows you to easily create complex layered patches. In this post, you'll learn how to layer instruments in MainStage.
Layering Instruments in MainStage
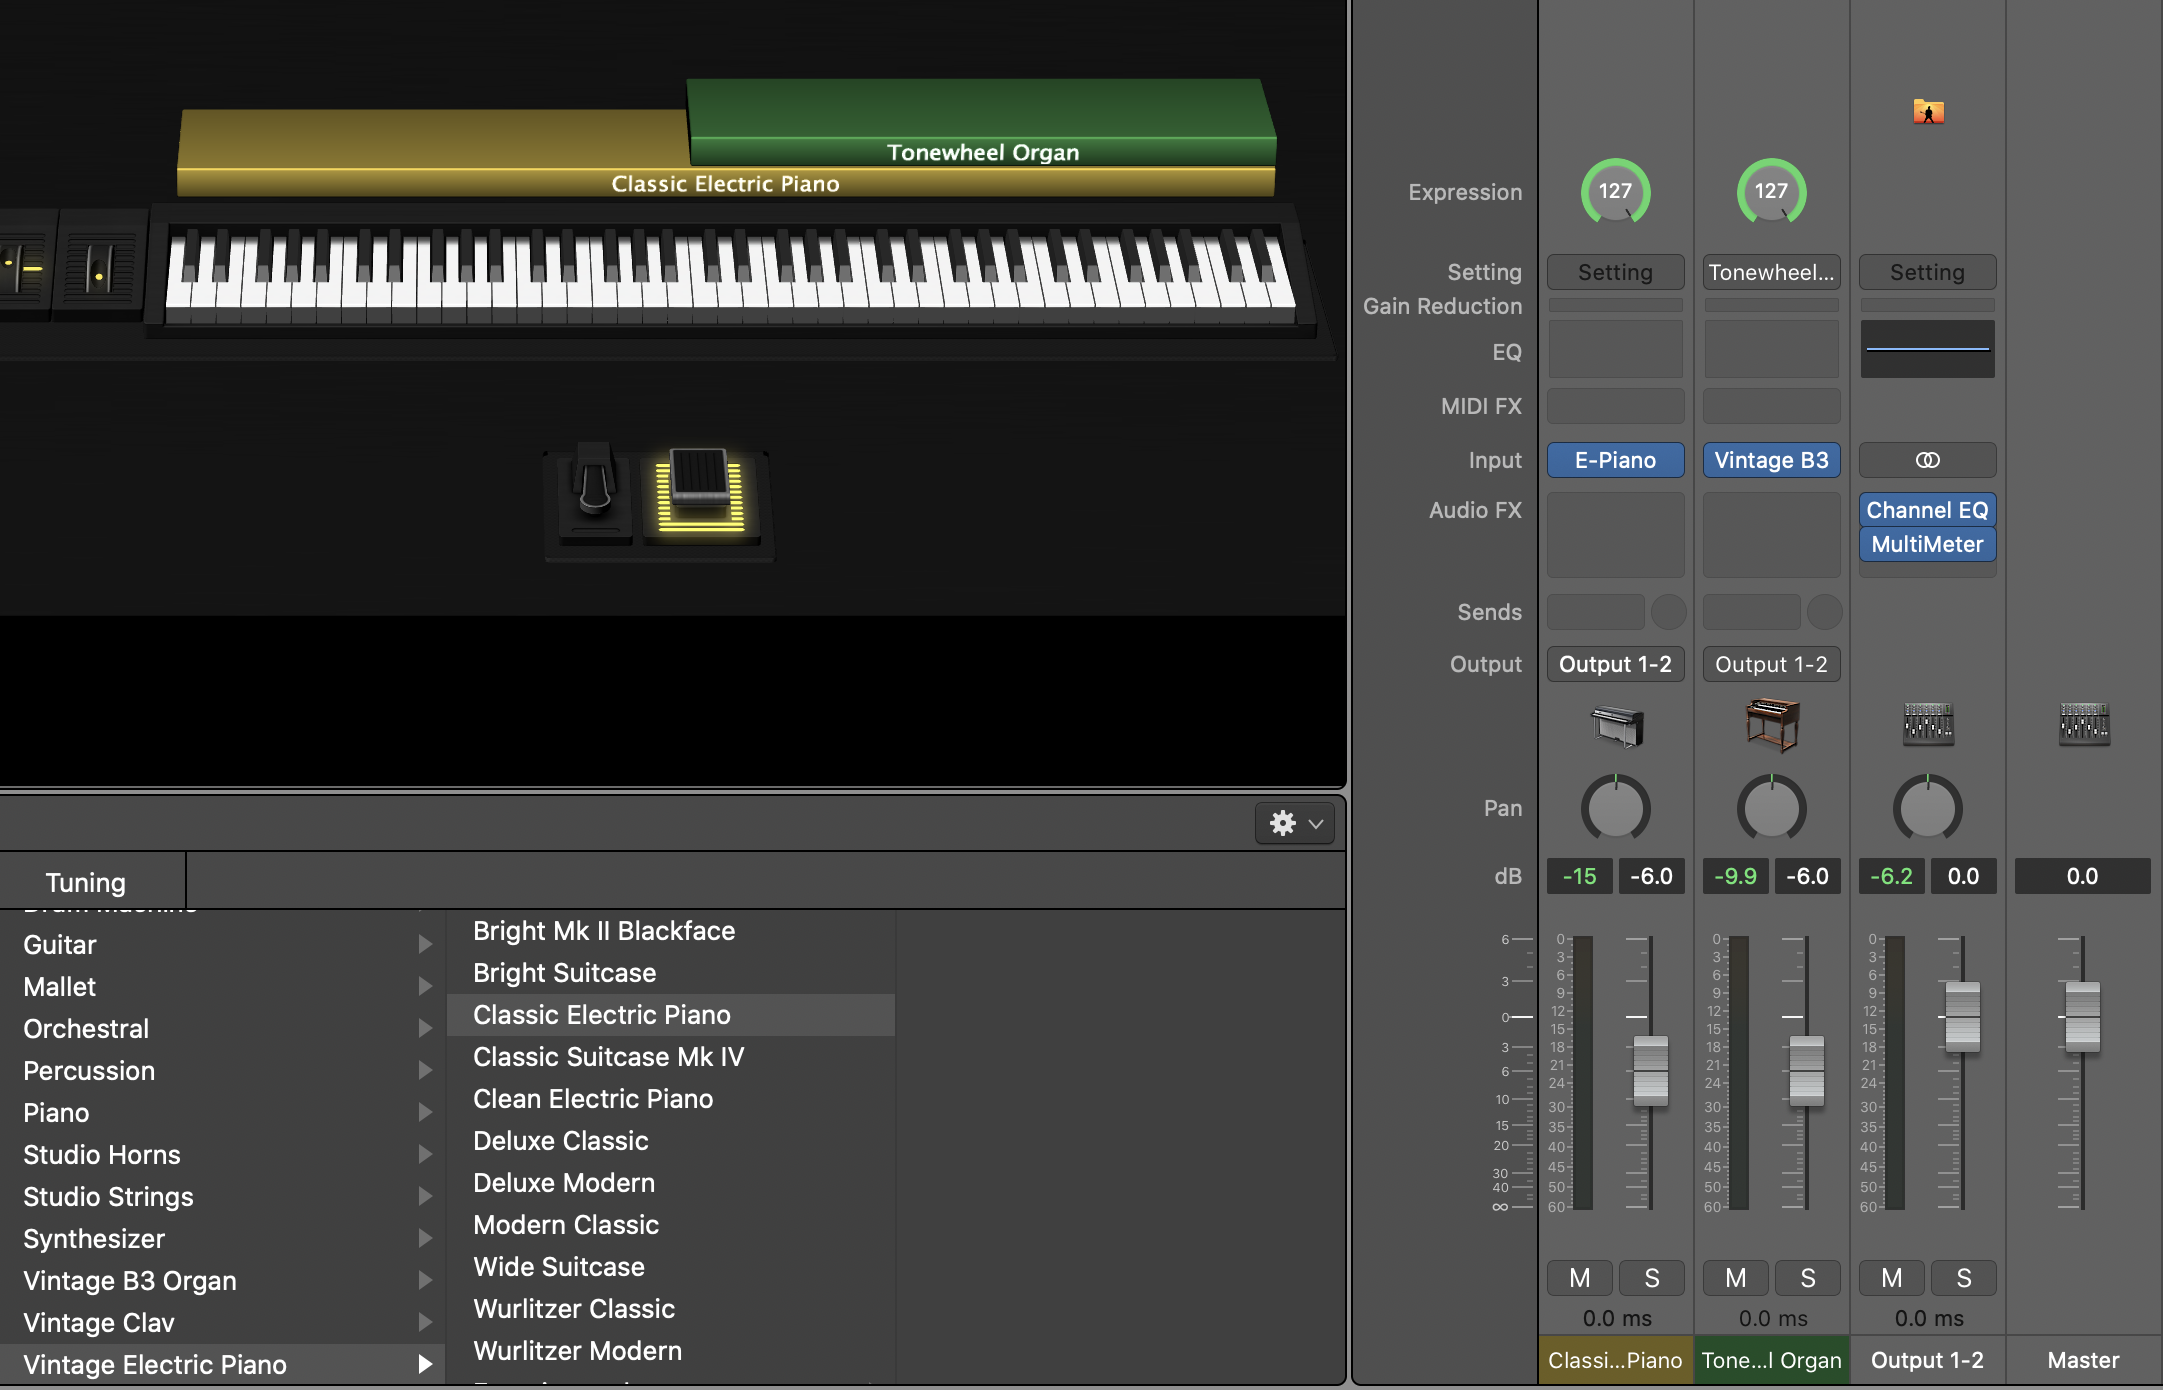
Creating layered patches in MainStage is very easy. All you have to do is create two channel strips in the same patch. In addition to software instrument channel strips, you can also layer audio and external instrument channel strips. In the screenshot below, you can see two layered software instruments channel strips in yellow and green (E-Piano and Vintage B3 Organ).

How to Adjust Key Range for Instrument Layers
In many situations, you may not want every instrument layer in your patch to occupy the entire keyboard. To adjust the key range for an instrument layer, select the layer and navigate to the Layer Editor tab. You can change the key range by typing in specific notes for the "Low Key" and "High Key" or dragging the colored layers left or right over the keyboard.
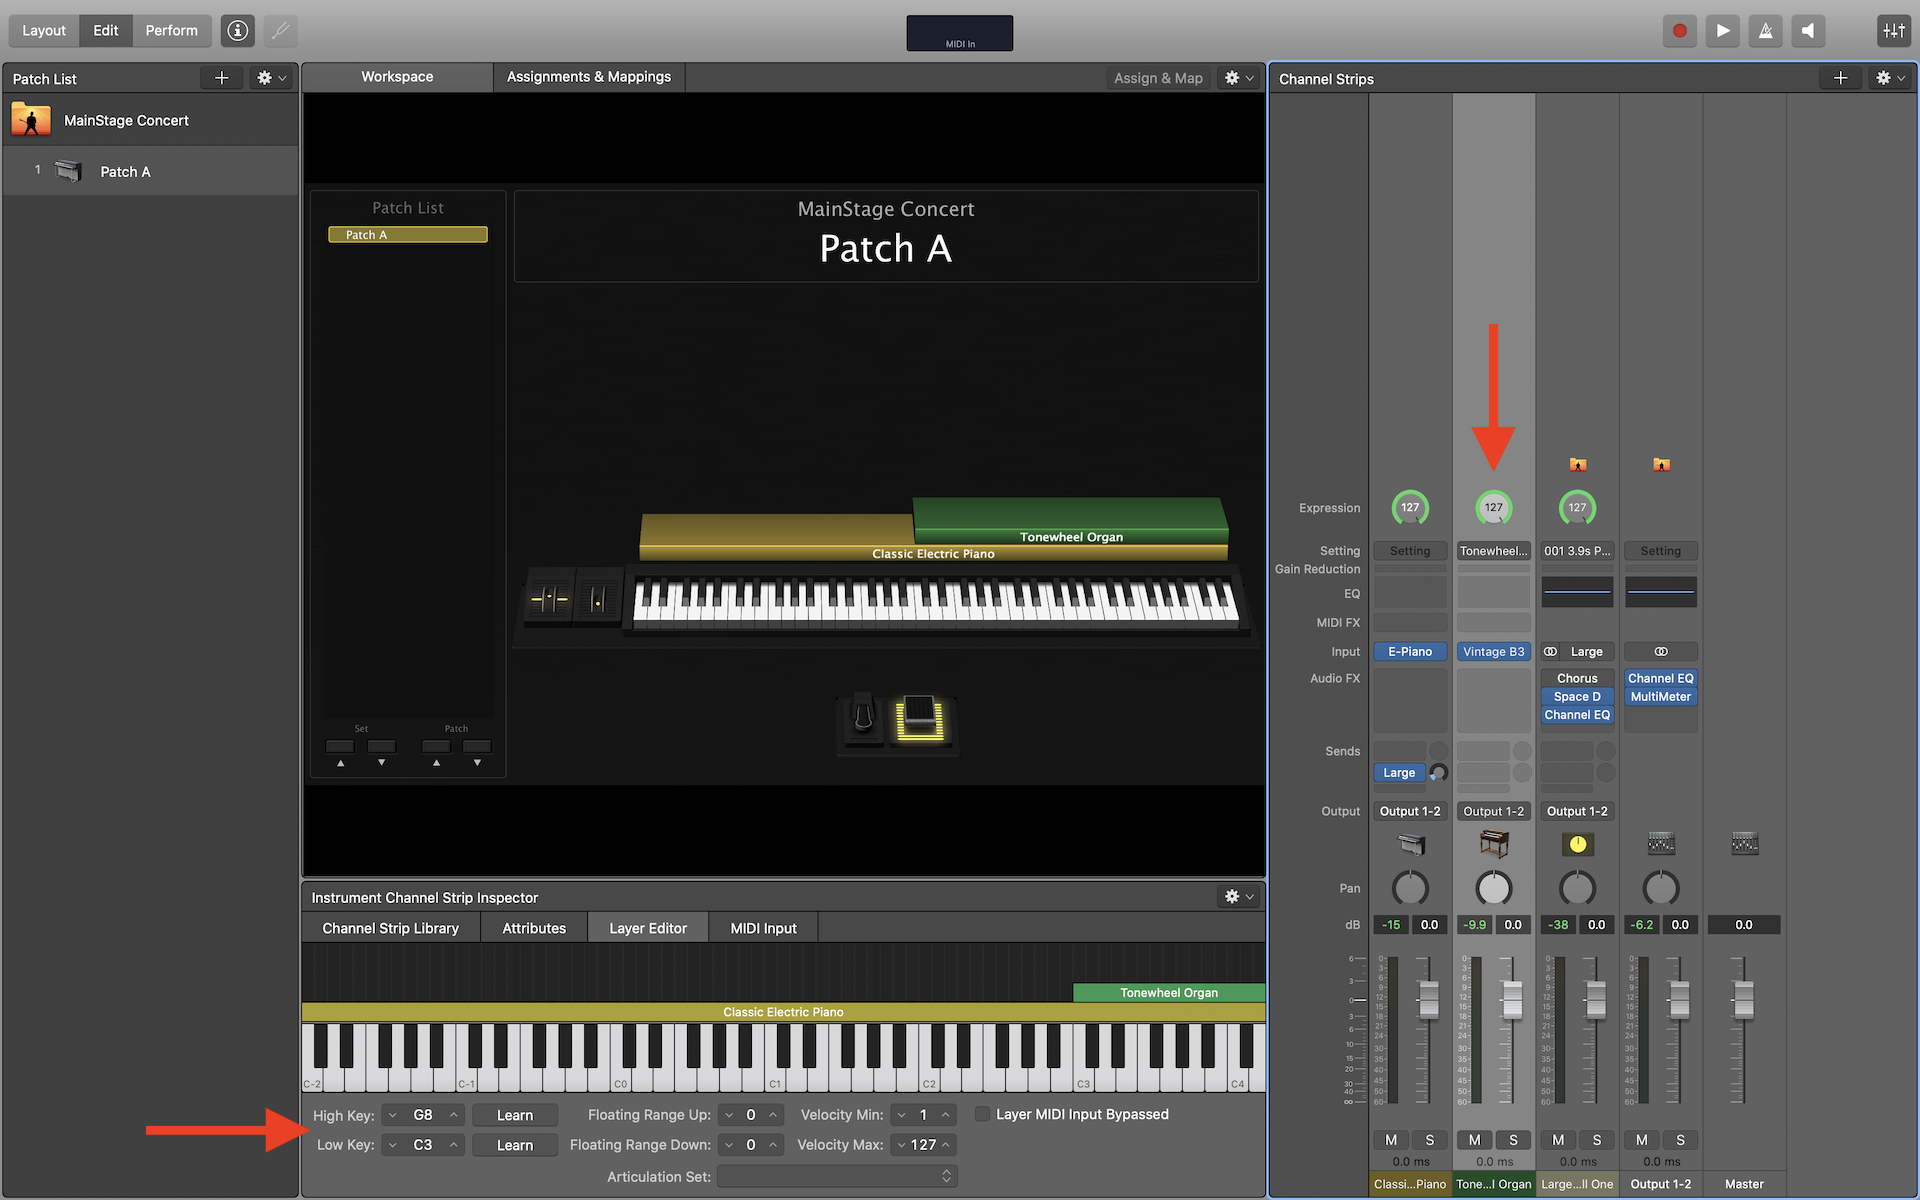
In the Layer Editor, you can also specify velocity ranges for each layer. In MainStage, velocities have 128 layers (0-127). If you would like a layer to sound only when played with high velocity, you can increase the "Velocity Min" value to filter out lower velocities. Similarly, you can decrease the value of "Velocity Max" if you want a layer to sound only when played softly.
How to Adjust MIDI Response for Instrument Layers
To adjust MIDI parameters for an instrument layer, navigate to MIDI Input tab. In here, you can adjust various MIDI-related settings including the input keyboard, velocity scaling, transposition, and controller filters.
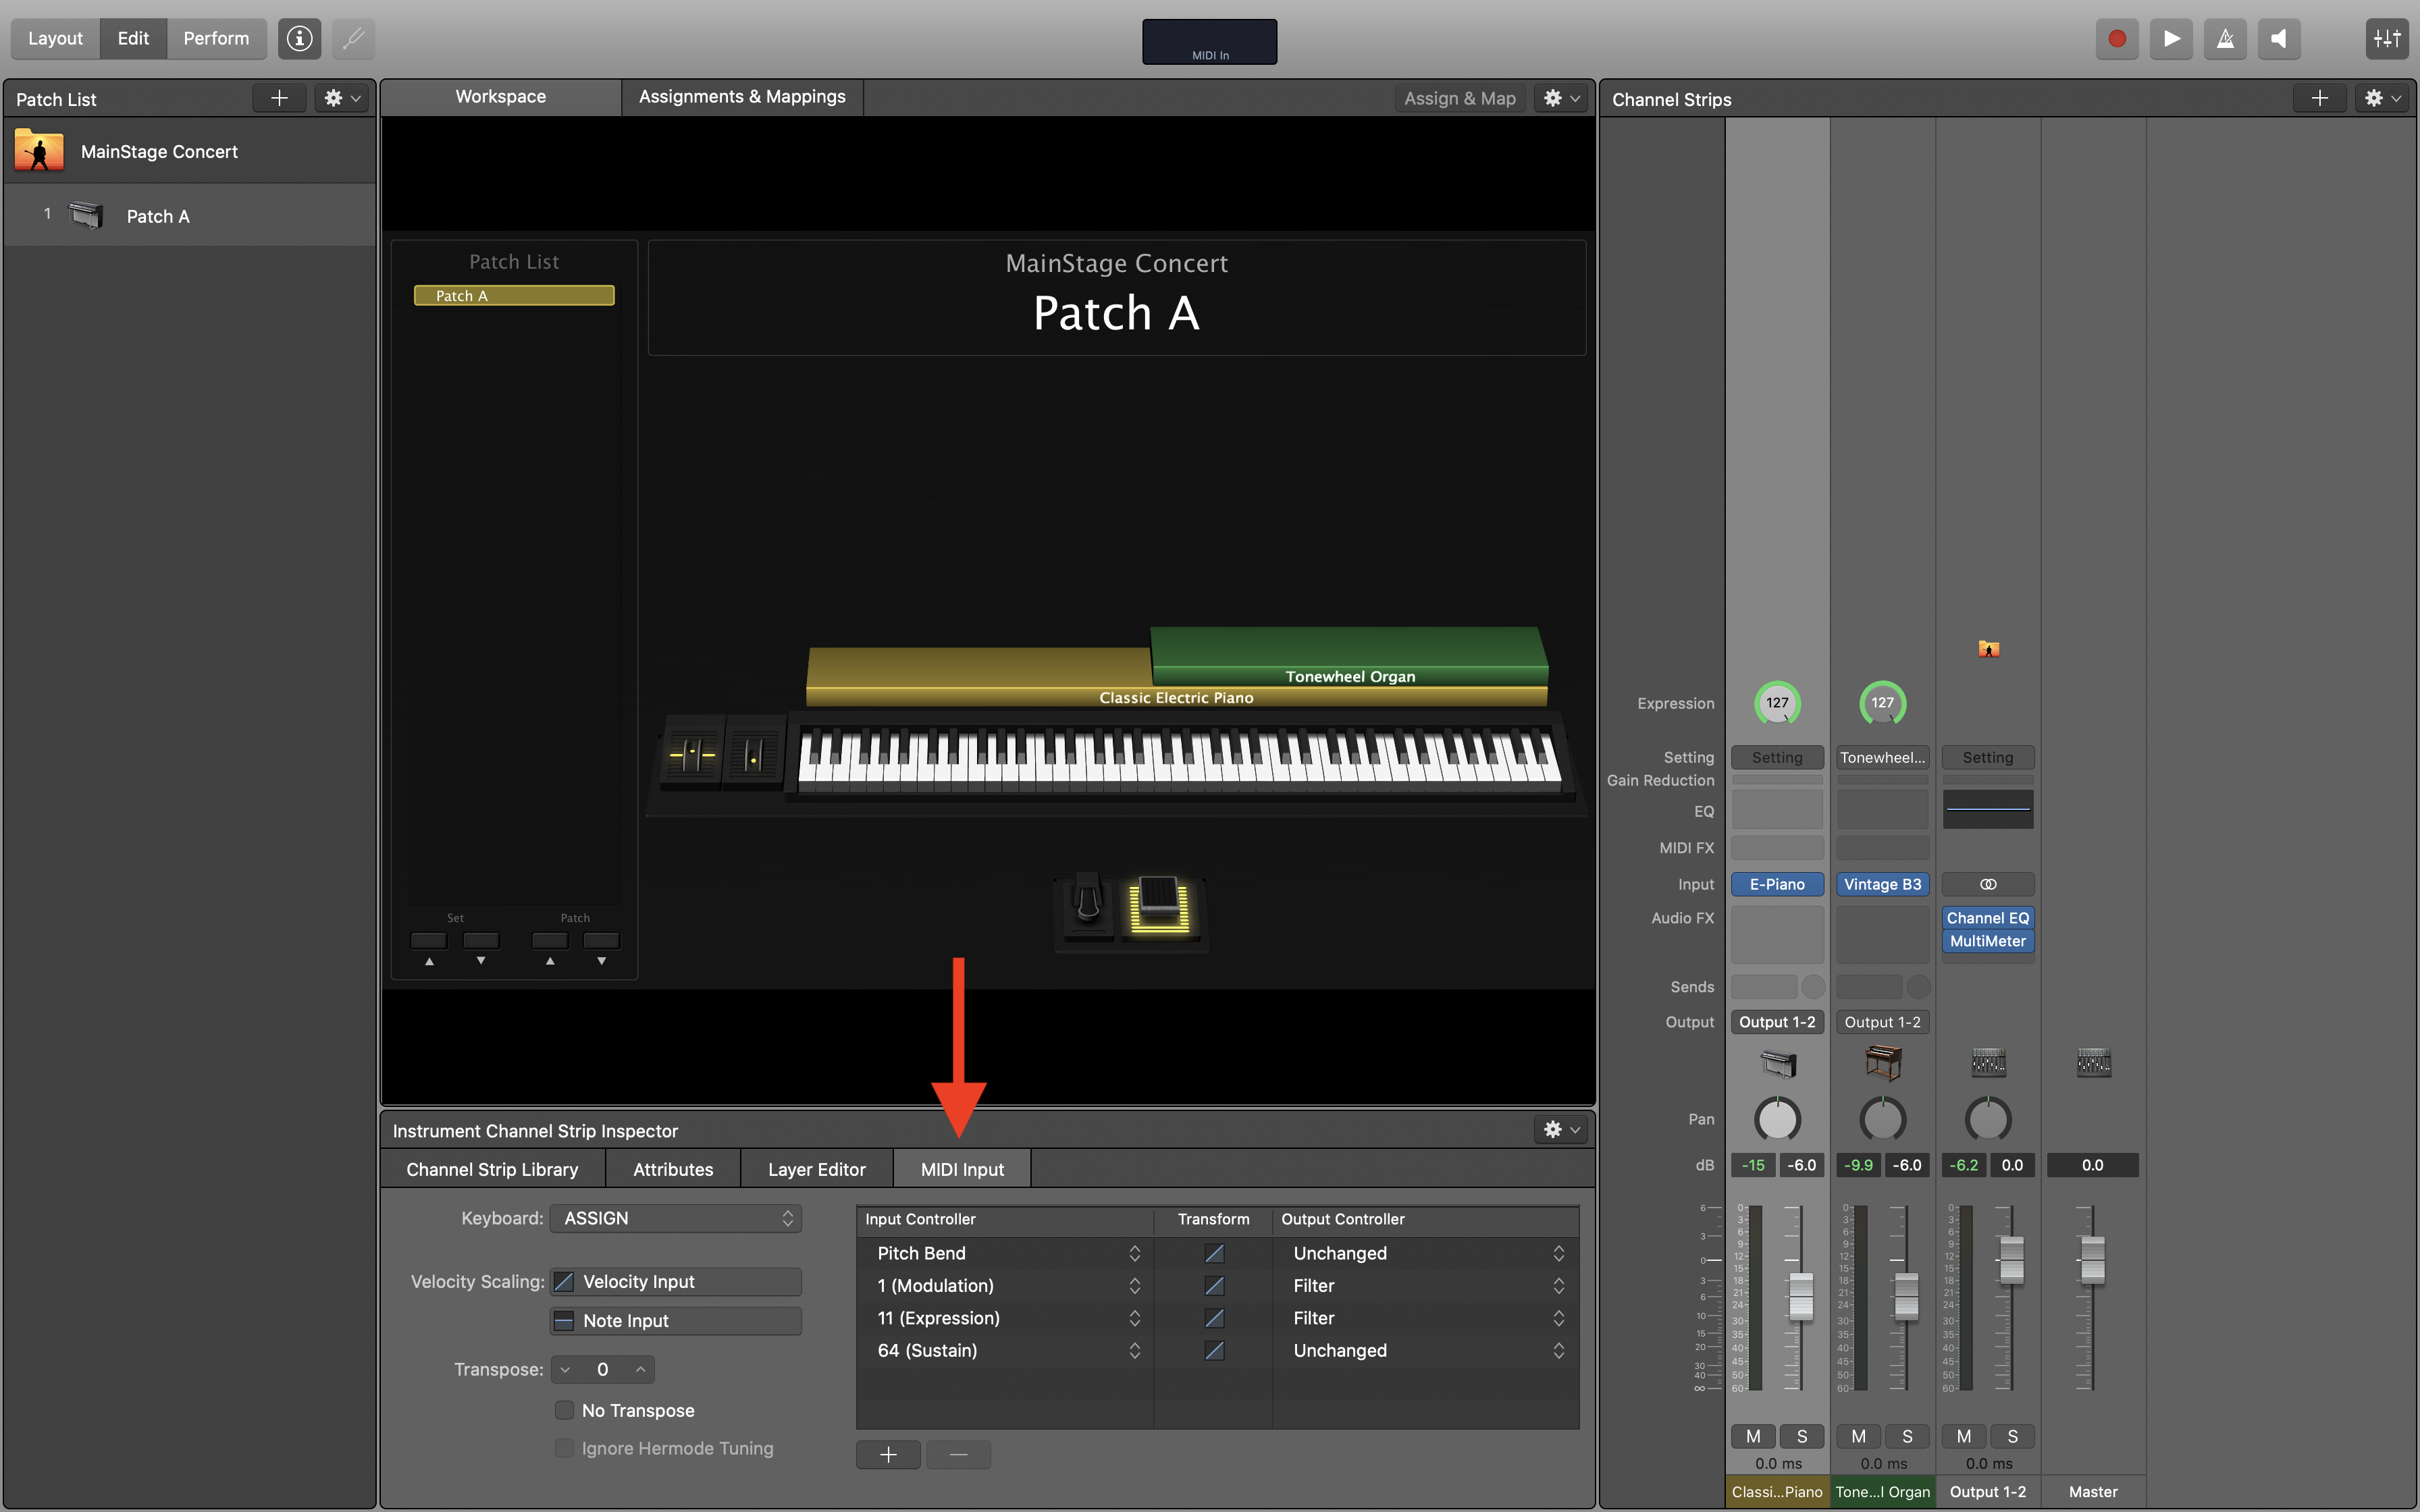
The controller filter is especially useful if you need to bypass the sustain pedal for a single layer in your patch. To filter out a controller, simply change the "Output Controller" sitting from "Unchanged" to "Filter".
Balancing Instrument Layer Volumes
When layering instruments, it's important to make sure you don't overload your outputs. With that in mind, I recommend using -6 dB instead of 0 dB as your maximum volume. If you need to increase the volume of a layer in your patch, decrease the volume of other layers instead. This prevents overloading your outputs, especially with patches containing lots of layers.
Summary
MainStage's layering capabilities allow you to create complex patches with ease. With full control over key and velocity ranges, you can layer sounds together to create patches for your live and studio productions.